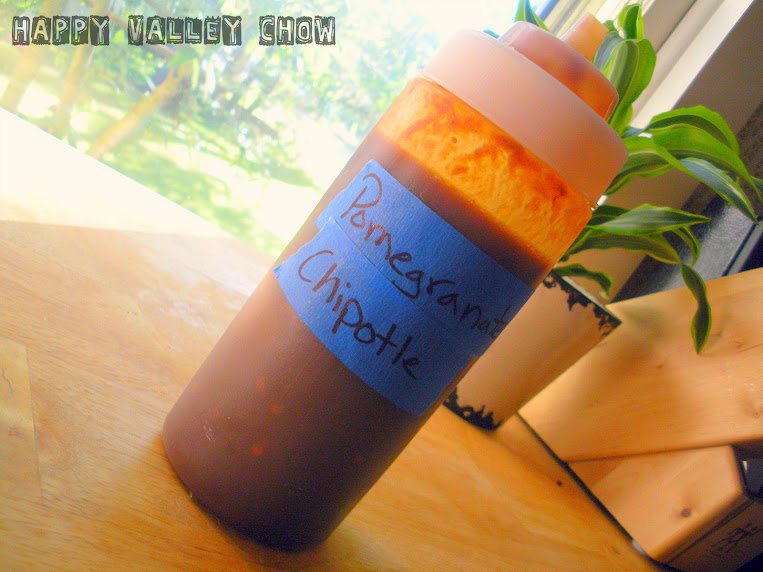
Chipotle Orange Glazed Pork Chops


The weather here has been all over the board, beautiful warm days, rainy windy days, cold days, snowy days...But, what do you expect in Northeast Indiana? Luckily we have had a few awesome days sprinkled into the crappy days, primed to fire up the grill. I made these awesome pork chops on one of those awesome days and they were delicious. Not only were they delicious, but they were super easy. Not only do you get a wonderful sweet, smokey, spicy pork chop. But, I love how it looks, you get those beautiful red flakes in there from the chipotle. Give this a try for a wonderful, easy, quick, affordable meal. Of course, these can be made indoors as well, by using either a grill pan or saute pan. Let me know what you think!
Chipotle Orange Glazed Pork Chop
Prep time: 10m | Cook time: 10min | Total time: 17min | Yield: 4 servings
Ingredients
-
- 2 Tbsp brown sugar
- 2 Tbsp orange juice concentrate
- 1 tsp seeded and finely chopped chipotle pepper
- 1/2 tsp adobo sauce
- 4 Center cut pork loin chops (3/4" thick, about 8 ounces)
- salt, as needed
Cooking Directions
- In a small bowl combine the brown sugar, orange juice concentrate and chipotle. You may need to microwave for a few second to melt the concentrate.
- Preheat grill. Sprinkle both sides of the chops with salt. Brush 1 side of chops generously with glaze. Place on grill, glaze side down. Brush other side with glaze. Cook 2 min and then rotate 90 degrees (to obtain grill marks) and grill for another 2 min. Flip and repeat cooking process. If you get grill marks and you still need to cook the pork chops, move them over to the indirect side of your grill to finish cooking.


Please, for the love of god, don't over cook your pork chops! Get yourself a Thermapen MK4 and cook these bad ass pork chops to 140F and let them rest of 5 min. The cooking process will continue through the resting period and should get you up to 145F. Thermapen is the best thermometer on the market. They are fast, reliable, durable, waterproof...just down right awesome and need to be in every kitchen.
Sharing is caring...
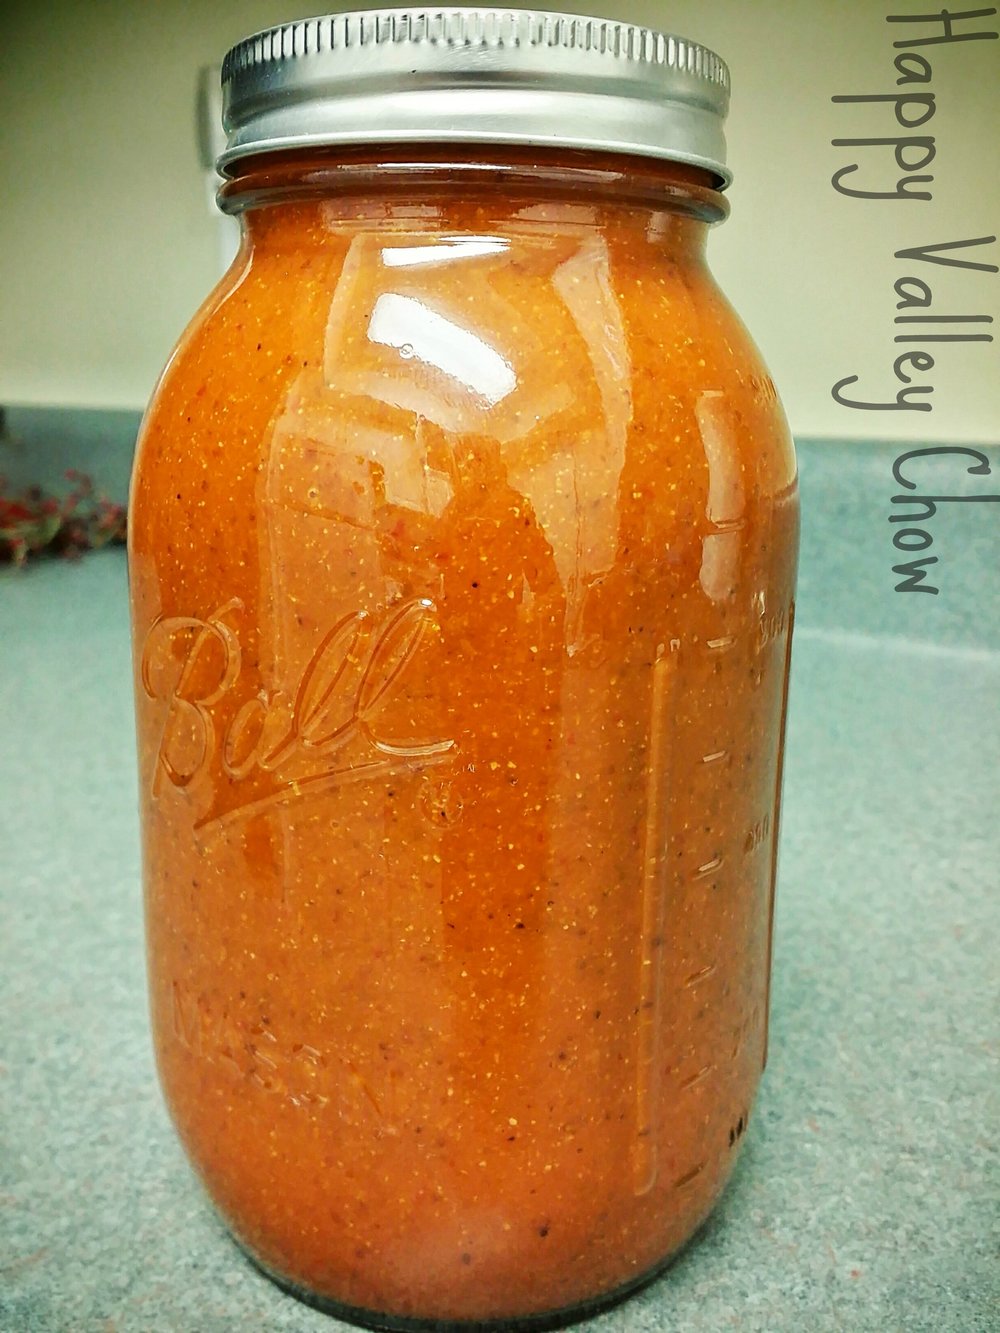
Sriracha Wing Sauce


Super Bowl is right around the corner and chicken wing prices are through the roof. But, you just cannot have a Super Bowl party without chicken wings....you just can't! One tip, never buy frozen chicken wings. Because most likely they are on the older end in regards to fresh chicken wings, that were then thrown in a freezer before they expired. The flavor profile is completely different between fresh and frozen. I tend to buy the whole fresh chicken wing, as they are usually cheaper than pre-cut ones. The more times something is processed (in this instance, cut into individual joints) the higher the price. Or you could always just cook whole chicken wings...they just tend to be tougher to eat in my opinion. Here is a great video demonstrating how to cut a whole chicken wing -->
Of course there are a billion wing sauce recipes out there and there are a billion excellent ones, this just happens to be the way I do it and my favorite wing sauce. There is something about Sriracha... it's a slow heat, meaning it doesn't bite you right off the bat. Then I also add in some brown sugar so you get a sweet taste that blends right into this spicy, smokey sriracha flavor. Then we come to how you actually cook the chicken wings, everybody has their own preference. But, me, I prefer to have mine grilled...I like a little bit of char on my chicken wing. If you are looking to try a new wing sauce, be sure to give this a try, you will not be disappointed!
Sriracha Wing Sauce
Prep time: 5m | Cook time: 10min | Total time: 15min | Yield: 1 1/4 cups
Ingredients
-
- 2/3 cup Sriracha
- 1/2 cup cold unsalted butter
- 1.5 Tbsp white vinegar
- 1/4 tsp worcestershire sauce
- 1/4 tsp cayenne pepper
- 1/8 tsp garlic powder
- 2 Tbsp dark brown sugar
Cooking Directions
- Combine the hot sauce, butter, vinegar, Worcestershire sauce, cayenne pepper, garlic powder, and brown sugar in a pot and place over medium heat. Bring to a simmer while stirring with a whisk. As soon as the liquid begins to bubble on the sides of the pot, remove from heat. Process the sauce with an immersion blender or blender to fully emulsify the sauce. Season with salt if need be.
- Use the sauce immediately or store in a container in the refrigerator.

Always remember to cook your chicken to a proper temperature of 165F. To make sure you are cooking and holding all of your food correctly, be sure to get yourself a Thermapen MK4. These are the best thermometers on the market and I use mine pretty much every time I cook. This is one kitchen gadget that will not waste space!


Other game day wing sauces...
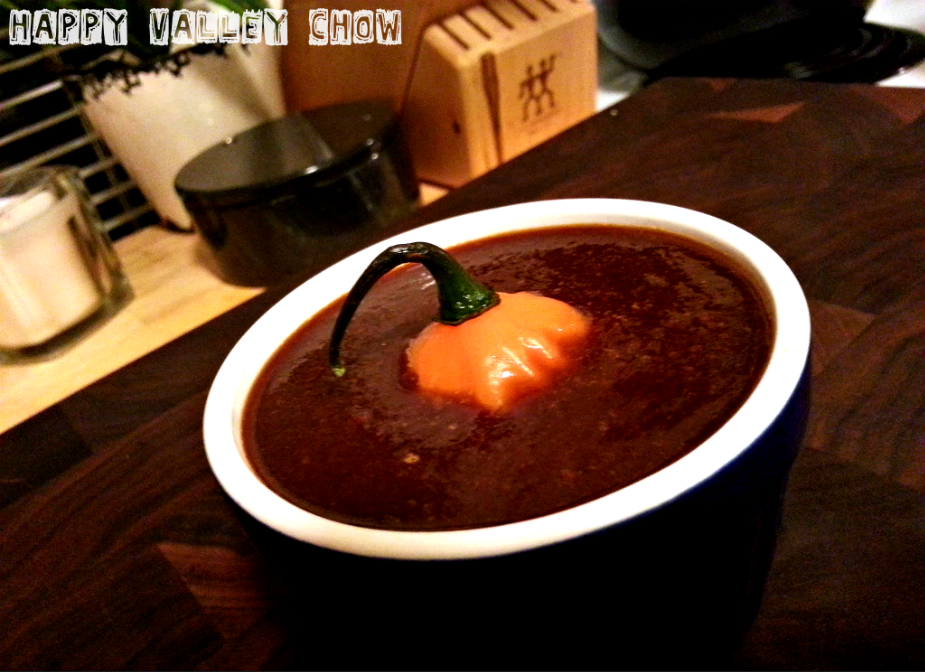
Bacon Cheeseburger Soup


Time will pass and seasons will come and go, so to will football season inevitably end for every fan base...some sooner than others. Unfortunately for the Pittsburgh Steelers and their fans, the season has ended at the hands of a New England Patriots butt whoopin'. As hard as it is to admit, the better team clearly won....with that said...LETS GO PENS!!
Whenever I watch big games, like the Steelers/Patriots AFC Championship game, I always make a point to make something absolutely delicious. So that whatever the outcome of the game, at least I still win because I had something delicious...well that's my silver lining logic. So, in true fashion, I made this delicious Bacon Cheeseburger soup! What really makes this soup fantastic is layering the bacon flavor through the entire cooking process. This flavor layering can be achieved in lots of recipes, especially when using a fat (i.e. butter, oil, bacon fat, etc). In this example, I rendered fat from both the ground beef and bacon. I then saved that rendered fat and used it through the entire recipe. I used the golden delicious fat to saute the mirepoix, as well as, the base for the roux. Layering or building flavor, especially in soup, is definitely a great way to elevate any dish. With that said, lets check out this delicious recipe!
Bacon Cheeseburger Soup
Prep time: 45m | Cook time: 30min | Total time: 1hr 15min | Yield: 8 servings (2 1/4 quart)
Ingredients
-
- 1/2 lbs ground beef
- 4 slices bacon, 1" chop
- 3/4 cup onion, chopped
- 3/4 cup carrots, shredded
- 3/4 cup celery, diced
- 1 tsp dried basil
- 1 tsp dried parsley
- 1-3/4 pounds peeled potatoes, cubed (about 4 cups)
- 3 cups chicken stock
- 1/4 cup all-purpose flour
- 1 package (16-ounce) Velvetta cheese, cubed
- 1-1/2 cups whole milk
- 3/4 tsp salt
- 1/2 tsp pepper
- 2 tsp worchestershire sauce
- 1/4 cup sour cream
Cooking Directions
- In a dutch oven over medium heat, cook and crumble beef until no longer pink; drain and set aside. In the dutch oven, add chopped bacon and cook until crispy and bacon fat is rendered. Place mesh sieve over a bowl and drain bacon, separating the bacon bits from fat. Set both the fat and cooked bacon aside. In same dutch oven, add 1 tablespoon bacon fat over medium heat. Saute onion, carrots, celery, basil and parsley until tender, about 10 minutes. Add potatoes, beef and chicken stock; bring to a boil. Reduce heat; simmer, covered, until potatoes are tender, 10-12 minutes.
- Meanwhile, in a small skillet, heat 3 tablespoons of bacon fat until shimmering. Add flour; cook and stir until bubbly, 3-5 minutes. Add roux to the soup; bring to a boil. Cook and stir 2 minutes. Reduce heat to low. Stir in cheese, milk, salt, pepper, and worchestershire sauce; cook until cheese melts. Remove from heat; blend in sour cream.
- To service, top soup with shredded cheddar cheese, cooked bacon bits, and sliced scallions.


Of course when throwing a Super Bowl Party (or should I say Soup-er Bowl Party...ba doom ching!) you may want to keep food out to snack on during the game. It is crucial that hot foods at above 135F and cold foods don't exceed 41F. Always check these temperatures every 2 hours to maintain proper food safety protocol. The best way to monitor food temperatures? Thermapen of course! I use mine pretty much every time I cook. It's incredibly accurate, easy to ready, fast, and most importantly durable.
Other delicious soup recipes...