How-to: Repair Power Cord on Kitchen Gadget
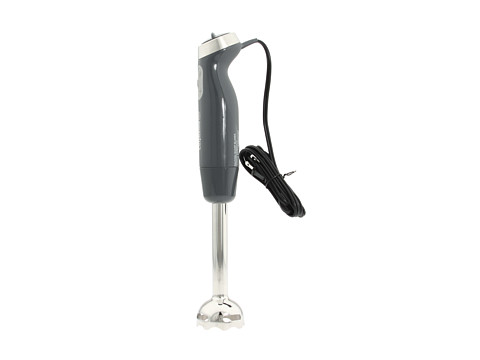
So a few months ago I almost had a mini heart attach. While making soup one night, I plugged in my immersion blender to give the soup a quick puree. Not noticing that the cord was sitting on a hot burner, all of a sudden I saw a giant spark and smoke...the chord on my immersion blender got burnt to a crisp.
I was heart broken, because not only was this a Christmas present from my lovely wife, but I LOVE MY IMMERSION BLENDER!! I use it all the time and have become very fond of it since getting it. I looked at the char broiled power cord and instantly my brain snapped back to 7th grade shop class...I can fix this! At the time when taking shop class you always think "When am I ever going to use this information." Well, youngins a lot more than you think!
I acquired all the necessary tools I needed for the repair and I thought again to myself "You know, this seems like something I should blog about." Because I wouldn't be surprised if this has happened on more than one occasion. There are lots of occasions where you can damage your precious cooking equipment and sometimes you can't fix it, but a lot of times you can! So I started snapping pictures and I am pleased to report that the immersion blender is working just fine!
Step 1: Assess the damage
- As you can see the heat melted right through the rubber and the copper wiring, essentially making the immersion blender useless.

Step 2: Acquire the necessary tools to fix the cable
- In this case the only things I needed were a pair of wire strippers ($10), two different colors of electrical tape (Black for the actual repair and Red to mark the wires) and a box cutter. I also go a piece of cardboard to work on as to not damage any furniture.

Step 3: Cutting the Wire
- First take the box cutter and separate the two wire down the middle so that you have two individual wires.
- Then take your red electrical tape and mark one of the cables. This is to ensure when you splice the cable back together you attach it to the right one.
- Using the wire strippers cut out the bad section of wire.

Step 4: Strip Wire
- Using the wire strippers, strip 1" of rubber off the tips of the wire to expose the internal copper. You'll have to select the correct size blade on the wire stripper, most will strip cable between 10-22 AWG. If you select a blade that is to small it will cut the wire.

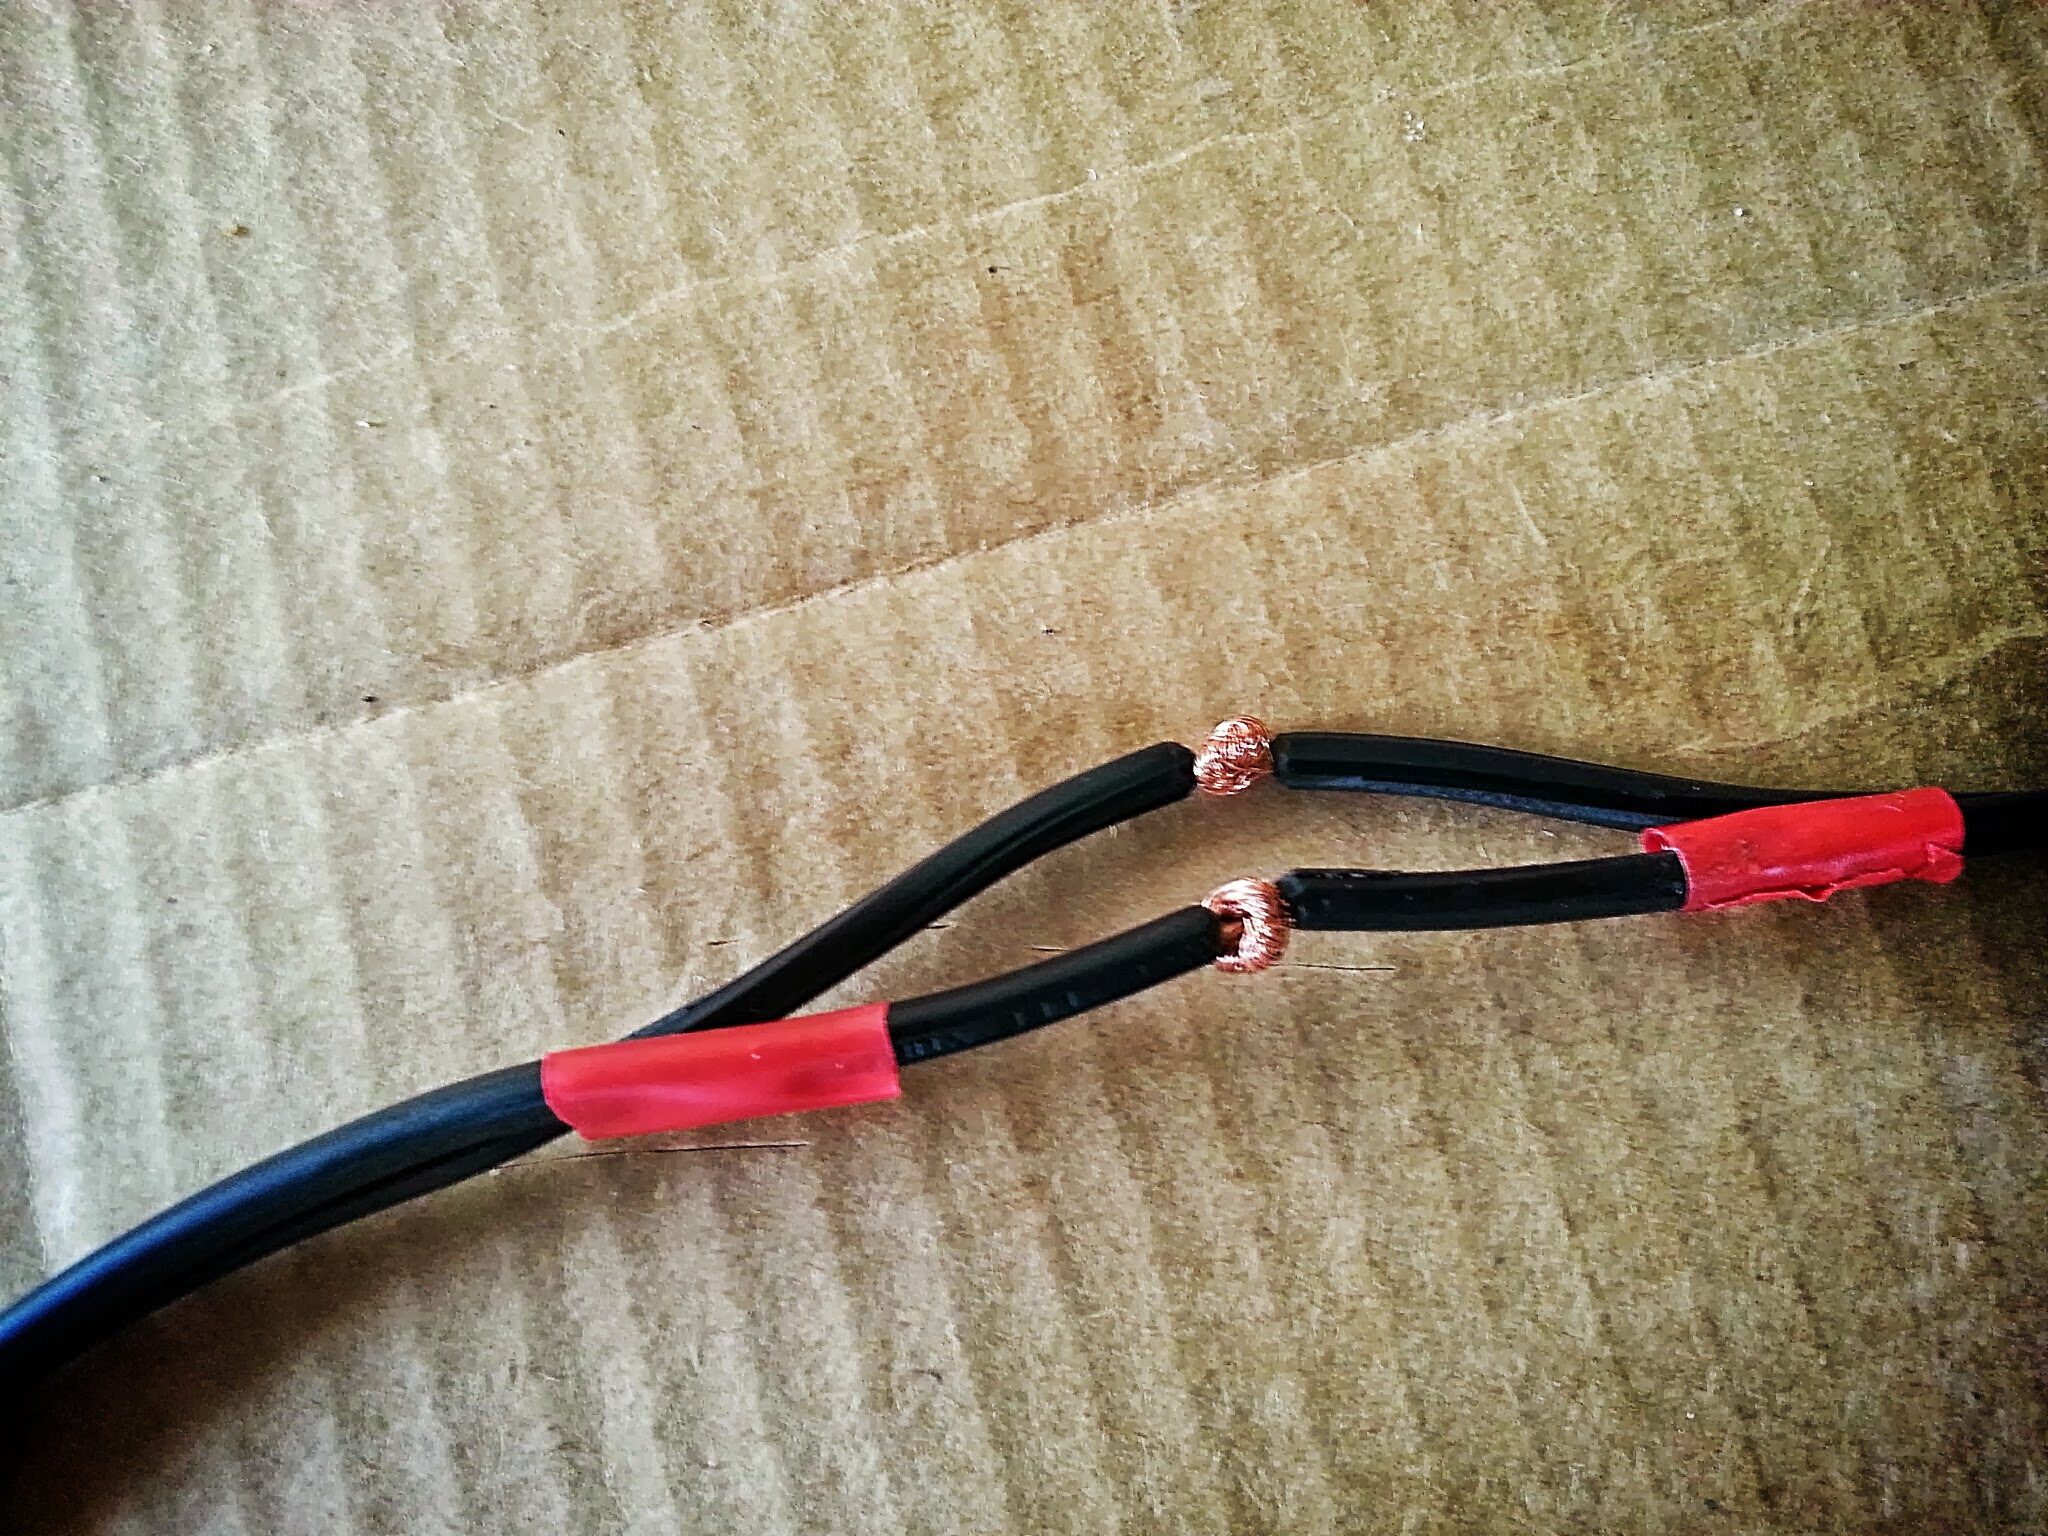
Step 5: Splice the Cable Together
- Splice the wires together, making sure the the wire you marked with red tape is matched with it's pair. Start at the base of the exposed wire and wrap tightly together.
Step 6: Wrap exposed wire with electrical tape
- Remove the red electrical tape and wrap each of the exposed wires individually with black electrical tape.

Step 7: Wrap the entire cord with electrical tape
- To finish, wrap the two cable together with electrical tape. Then plug in and test your device.

Hopefully this little step by step tutorial will help you in a pinch! If you have any questions please feel free to ask :)

Recipes I love...