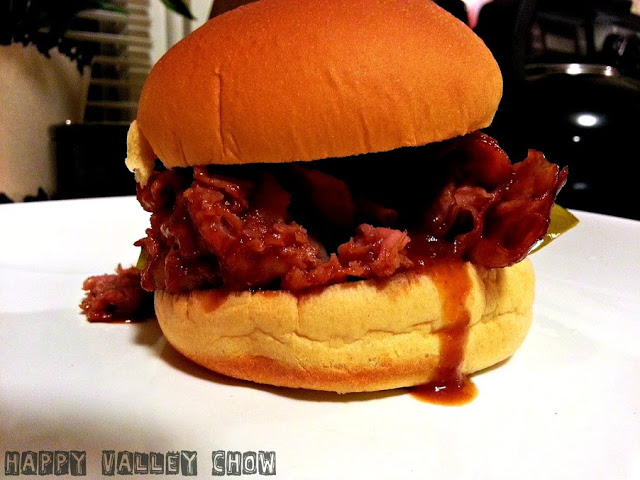
Roasted Pulled Pork

Hello everybody! How was your Father's Day weekend?? Did you do or make anything fun/exciting?? Let me know in the comments below! I was in the mood for pulled pork and lately whenever I do any sort of barbecue I have been doing it sous vide just because it takes a lot of the guess work out. This time I decided to take a different a approach and since I don't have a smoker or grill of any kind right now :( I decided to roast it in the oven. It turned out really really well, but honestly I wish I would have let it cooked for a little longer. I was doing really well and then right around 150 F I hit it...the inevitable aggravating stall....NO NOT THE STALL!!! (you say)...ummm what the hell is a stall (some of you say). Time to learn people, knowledge is power!

Amazing Ribs - The Stall
"Here's the logic: The fuel in your cooker (oxygen plus charcoal, gas, or pellets) burns and produces energy that enters the cooking chamber in the form of heat. Some of it escapes through the metal sides and some goes up the chimneys, but some is absorbed by the cold meat. When the meat heats, some of the energy is used up raising the temp of the entire hunk, some of it is used in changing the chemistry and physical structure of the molecules in the meat, and some is used to melt fat and evaporate moisture. Pork shoulders and brisket have relatively high connective tissue content. These connective tissues form a sheath around muscle cells that connect them to each other, it encloses bunches of muscles into fibers, it encases fibers into whole muscles, and it connects muscles to bone in the form of tendons and ligaments. Some are made of really tough stuff called elastin. But some are made of collagen. But the math didn't add up. There's just not enough collagen to suck up all the energy necessary to prevent the meat from increasing in temp."
"The conclusion was inescapable: "Since there was a deep, glistening pool of melted fat in the smoker, the rendering fat hypothesis is busted. The barbecue stall is a simple consequence of evaporative cooling by the meat's own moisture slowly released over hours from within it's pores and cells. As the temperature of cold meat rises, the evaporation rate increases until the cooling effect balances the heat input. Then it stalls, until the last drop of available moisture is gone." (Amazing Ribs, Understanding And Beating The Barbecue Stall)
So there you have it, in very simple terms...the meat is sweating which causes the meat to cook slower or even cool down. The main recommendation to beat the stall is to roast, smoke, or grill until you reach the stall and then wrap the meat in tin foil. The reason?? So that you get the smokey flavor and you still develop that much needed "bark" on your barbecue.
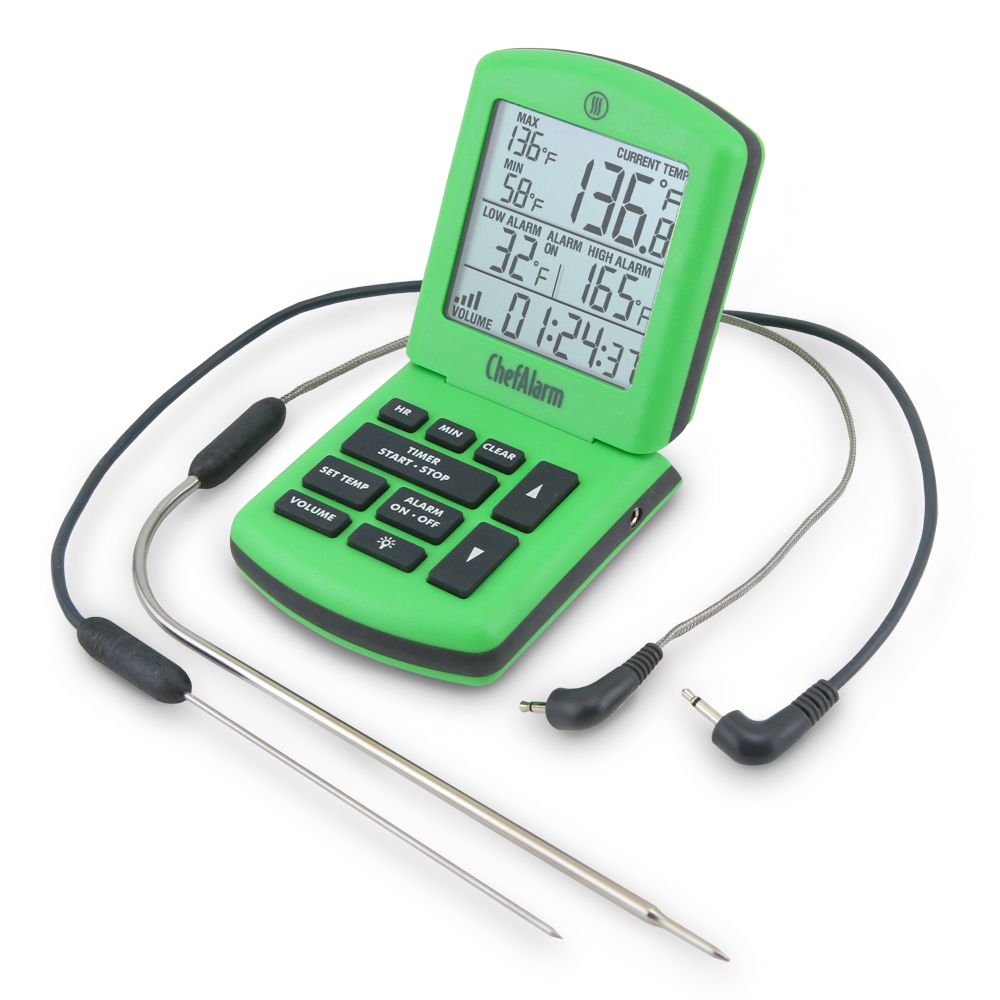
Another advantage to doing pulled pork like this was that I finally got a chance to demo my Thermoworks Chef Alarm! The ChefAlarm has a lot of bells and whistles packed into a little form, that ordinary cooking alarms don't have. It has a large digital screen that is extremely easy to read, packed with tons of readings to monitor whatever you're cooking. It features a large real time temperature so you monitor exactly what temp you're at. It also has min and max temperature so it shows where you started and where you ended. Another function I love is a low alarm and high alarm. I set the low alarm to let me know when I was getting close to stall temperatures so I could start thinking about wrapping and basting the roast. It also has a timer feature that will sound at the end of the time. The thing I love about ThermoWorks is their attention to details and the quality they put into all of their products. Of course they didn't leave any stone un-turned when designing the ChefAlarm. It is made out of extremely strong plastic and features a splash-proof design for commercial kitchens. The most important part is they use Pro-Series temperature probes that without calibration is accurate to ±2°F and if calibrated can be as accurate as ±1°F and we all know accuracy is one of the most important elements in the kitchen. The ThermoWorks ChefAlarm retials for $59 on their website which is money well spent for such a fantastic kitchen thermometer. Now lets get to the recipe!
Roasted Pulled Pork
Prep time: 30 min | Cook time: 7 Hours | Total time: 7.5 Hours | Yield: 8-12 servings
Ingredients
- 2 cups Dark brown sugar
- 5 Tbsp Salt
- 1 Tbsp + 1 tsp Smoked paprika
- 1 Tbsp Cayenne
- 2 Tbsp Garlic Powder
- 2 Tbsp + 1 tsp Ground allspice
- 2 Tbsp Chili flakes
- 3 Tbsp Ancho chili powder
- 8-10 Lbs Boston butt or pork shoulder
- As needed Worcestershire sauce
- As needed Liquid smoke
Cooking Directions
- In a mixing bowl, combine the first 8 ingredients to make the dry rub.
- Wash the pork under cold running water and then pat dry with paper towels.
- Remove any excess fat or loose pieces. Do not remove the bottom "fat cap" or skin layer.
- Add a few splashes of Worcestershire sauce and liquid smoke. Rub the liquids into the meat and under any visible flaps of meat as well.
- Sprinkle a layer of dry rub all over the meat and skin. Massage into the meat with your fingers.
- Place dry rubbed meat in a large bowl and cover with a lid or plastic wrap. Let refrigerate over night.
- Preheat the oven to 300ºF
- Remove the pork from the fridge and uncover. Place on a rack in a roasting pan, skin side up.
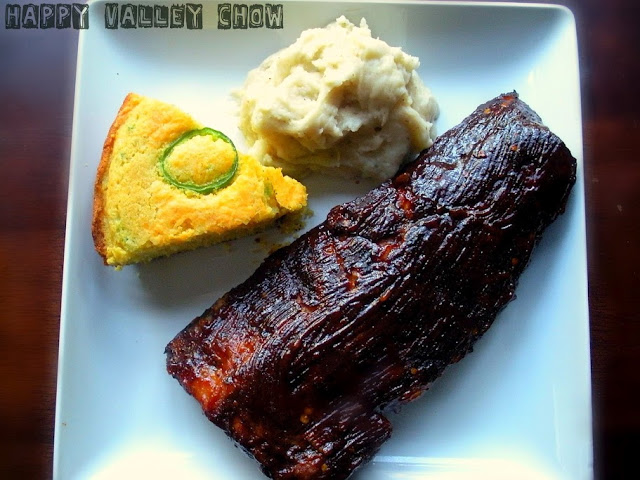
- After 4 hours, start moping on some of your favorite barbecue sauce and repeat every hour until meat is done.
- Meat should reach an internal temperature of at least 190ºF and up to 200ºF to be done. About 1 hour per pound of meat.
- Remove the pork from the oven, carefully cover with tin foil, and let rest for at least 30 min and up to 1 hour.
- Pull the meat off the bone, shred and/or chop, then mix in about 1/4 cup of your favorite barbecue sauce. (Note: You don't want your pulled pork drenched in sauce, set some on the side if your guests would like more they can add).
- Enjoy!

Like this post?? You'll probably like these posts then!


Since this post is all about pork I thought I would share with you my brand new logo for Happy Valley Chow! I am so happy with it I figured I would make t-shirts...you know you want to rock the town with your own Happy Valley Chow Gear!
Strawberry Milkshake

As most of you probably figured out, I don't make desserts very often (Last dessert post was August 2013). I just don't have a huge sweet tooth, so I just save them for special occasion. My wife and I love strawberry milkshakes from McDonalds...yeah that's right we eat at McDonalds and we're proud of it!
Since strawberries are in season, I wanted to surprise my wife one night and make us a little treat one night. So I figured I'd make us some homemade strawberry milkshakes. Granted they didn't taste like McDonald's milkshakes...they both have their plus'...just depends on your mood. But these were quite delicious, had a very fresh taste, and the best of all were extremely easy to make!
If you don't indulge in sweets to often like us, then you should treat yourself and have a Happy Valley Chow Strawberry Milkshake! Let me know in the comments below what you think :)
Strawberry Milkshake
Total time: 15 min | Yield: 2 large or 4 small milkshakesIngredients
- 1/2 pound Fresh strawberries
- 2 Tbsp White sugar
- 1 tsp Vanilla extract
- 3/4 to 1 cup Whole milk
- 1 pint Strawberry ice cream
Cooking Directions
- Put two pint glasses (or four smaller glasses) in the freezer to chill.
- Hull the strawberries and slice them. Place in the blender with sugar, vanilla, and 3/4 cup of milk. Blend until the strawberries are pulverized. There should be no big chunks left at all.
- Add in the strawberry ice cream and blend until smooth. If it won't blend very well or gets stuck, carefully add as much as 1/4 cup or more milk. Stir or shake if necessary.
- Pour the milkshake out into the chilled glasses and garnish with strawberries. Enjoy!

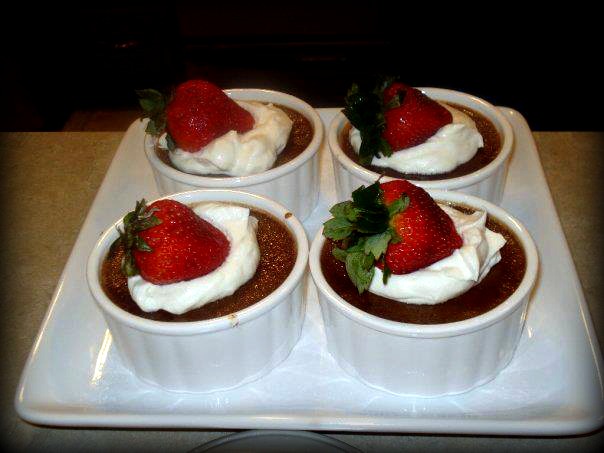
I like me some crème brûlée...


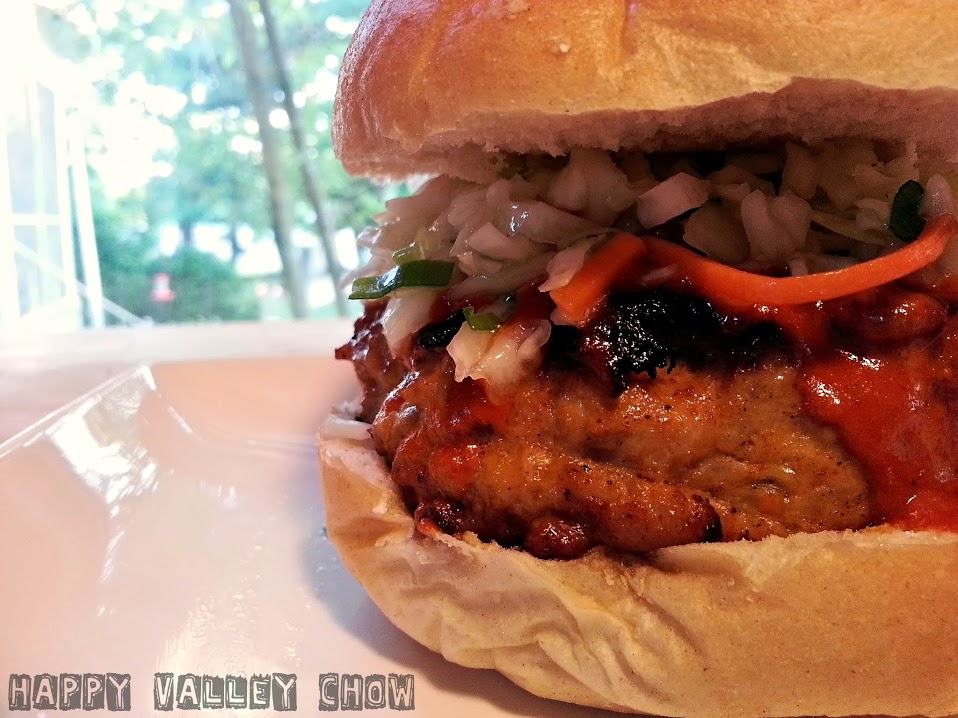
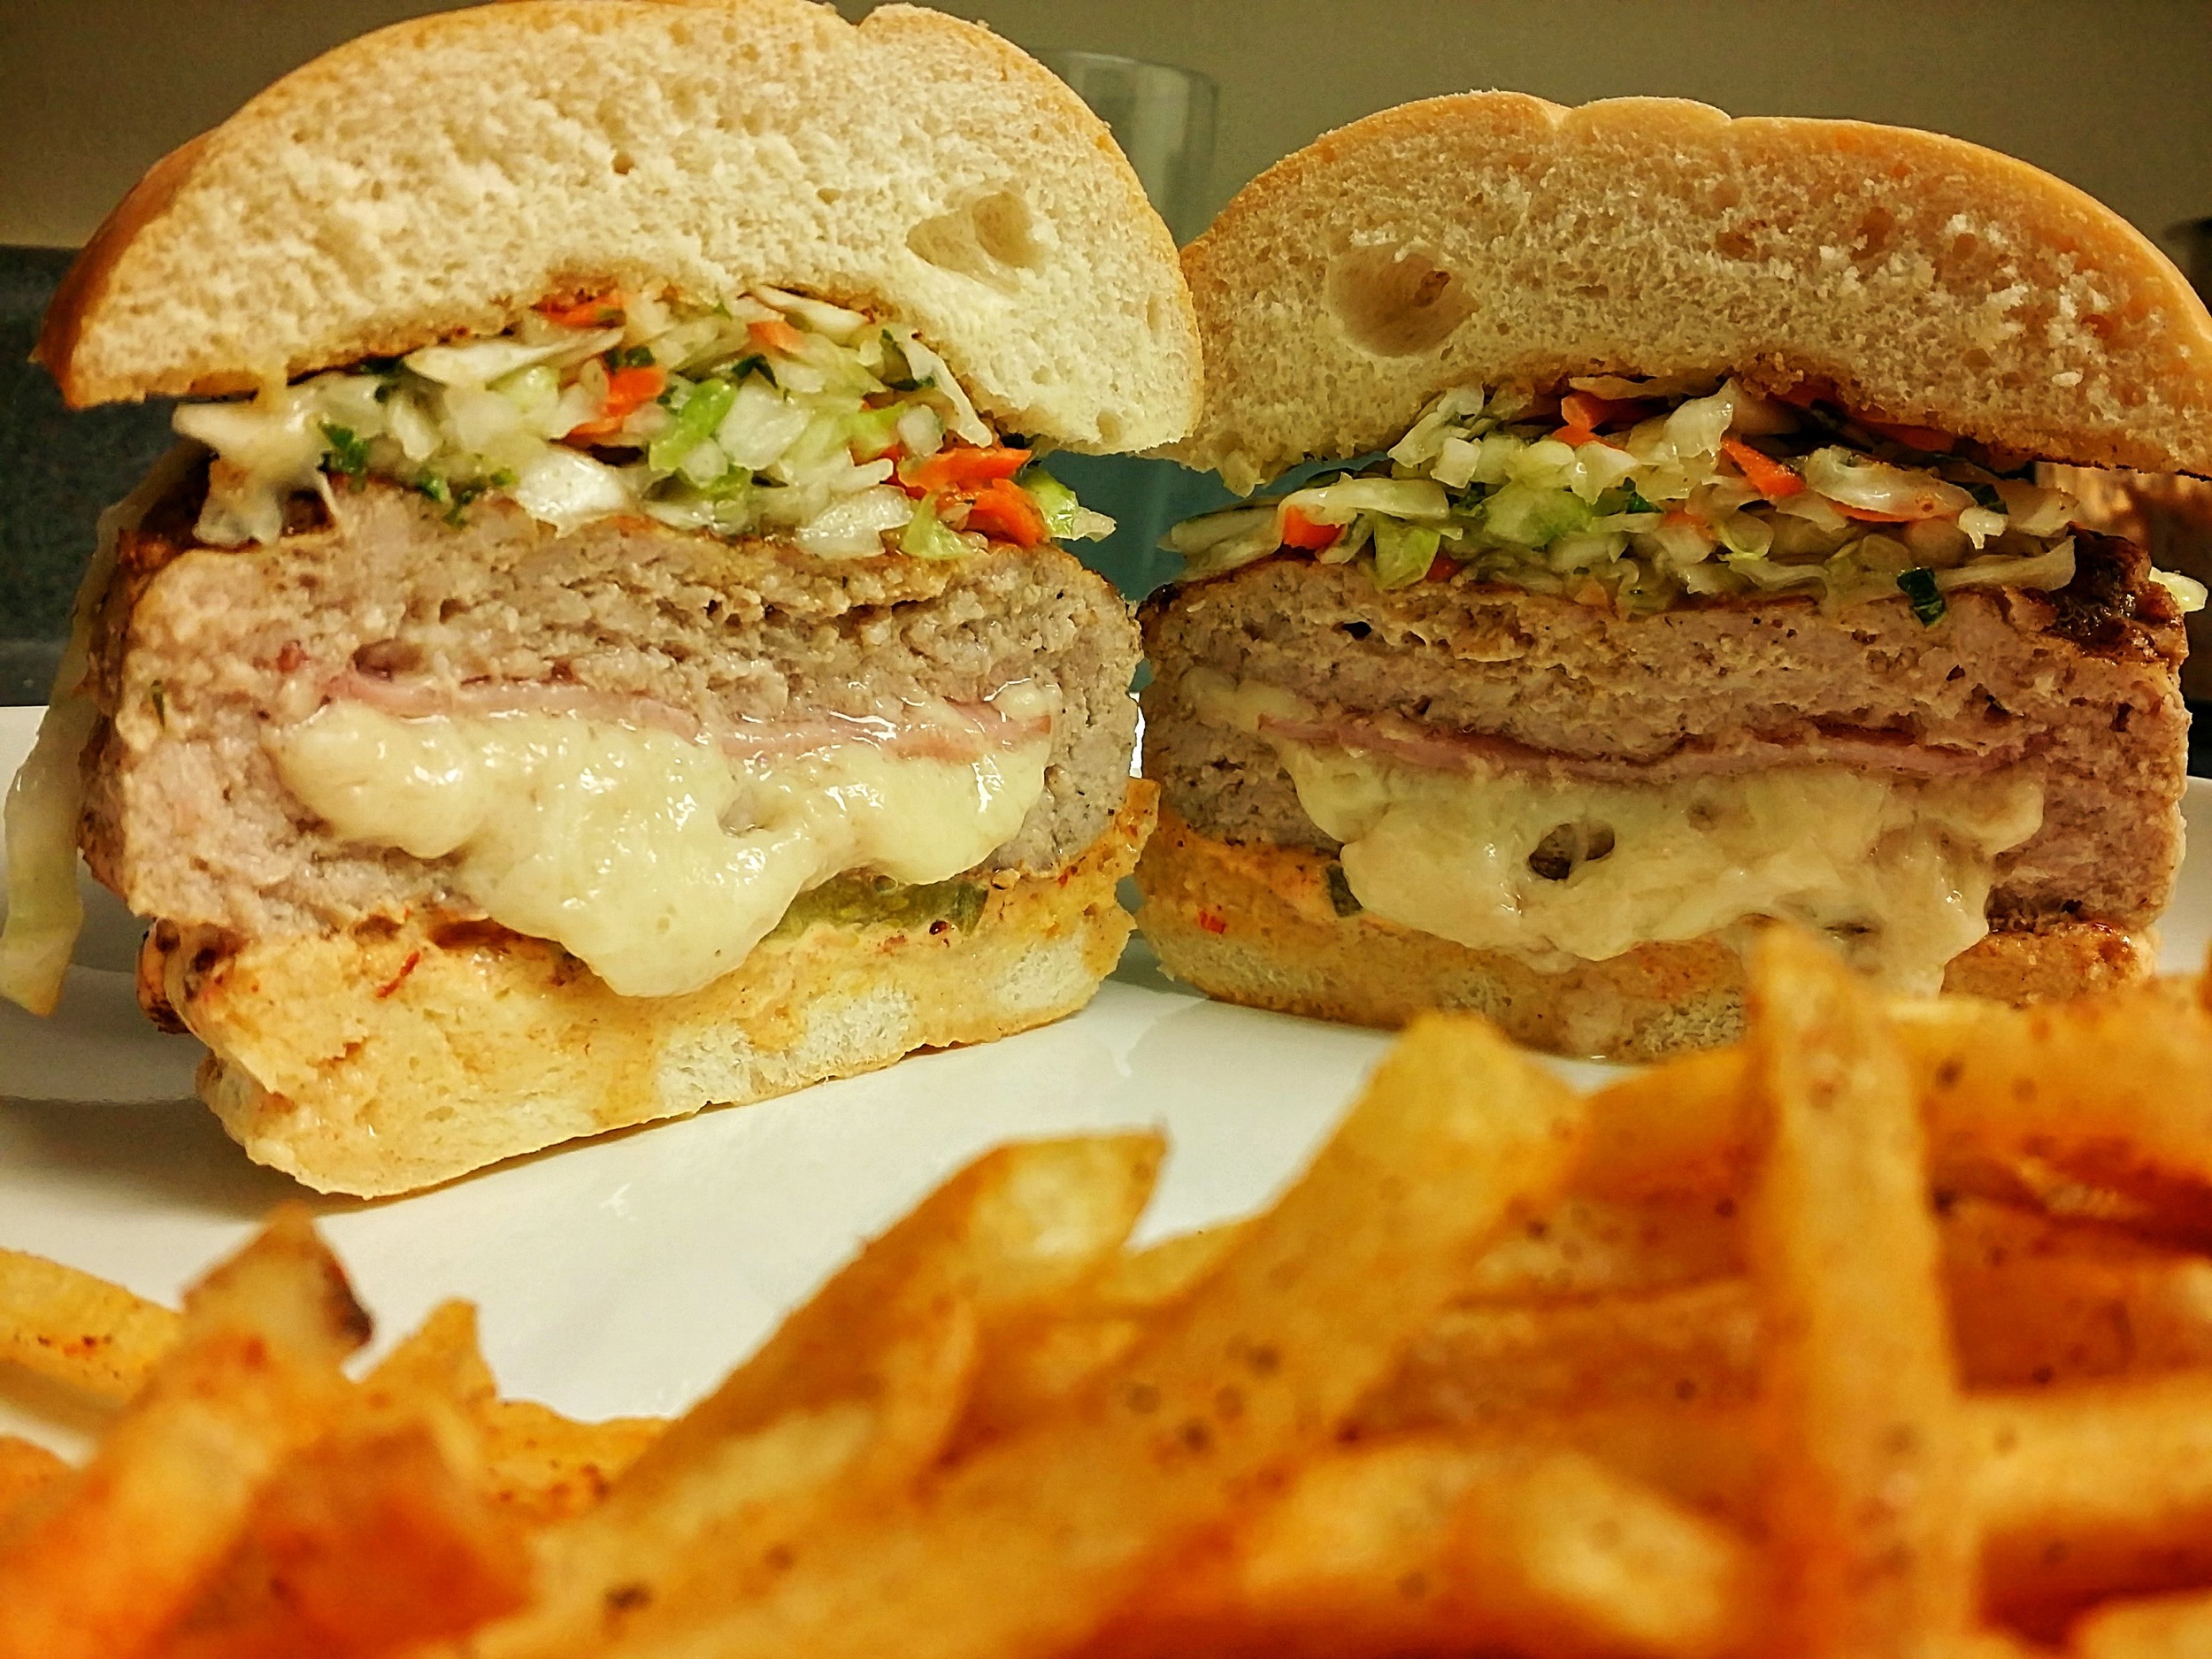
Cuban Burger
I know I know...this is my first post since March 24th. But, I had to take a brief hiatus because there was just so much stuff going on. I'm sure a lot of you sympathize that sometimes life just gets in the way sometimes...or maybe not in the way just chaotic (in a very good way). But don't worry my fellow bloggers and followers I am still alive and well. I finished up my grueling 4 month training with Ecolab and am official on my own. Lee and I finally got settled into our own apartment and we are finally into a somewhat normal routine now. So, in short, life is going great!
Now that I am finally into a somewhat normal life again, I have gotten back into the kitchen and started creating. But, I decided to take a few weeks to get a pipeline of recipes in the bank so that I can post consistently. One thing is true, I sure did miss Happy Valley Chow and I hope you guys have missed me. With that being said, lets talk about this delicious Cuban Burger.
For Christmas my mother-in-law got me one of those burger stuffers and I finally got around to giving it a try. I've been toying with this idea of a Cuban Burger and I finally decided to pull the trigger and make it. It's a ground pork burger, stuffed with swiss cheese & Canadian bacon, finished with a Chipotle Mayo, pickles, and a cuban style slaw. It's definitely a perfect summer burger, especially if you want to change it up from your traditional burger. Give it a try and let me know what you think in the comments below!
Here's a little slide show of my life the past 4 months:


Cuban Burger
Total time: 1 hours | Yield: 4 BurgersIngredients
- 3/4 cup Orange juice
- 1/2 cup Lime juice
- 1/3 cup Fresh oregano leaves, minced
- 2 Large garlic cloves, minced
- 1 tsp Cumin
- 2 Tbsp Sugar
- 1/4 cup Canola Oil
- 1 bag Coleslaw Mix
- 1 cup Mayonnaise
- 2 Chipotles in Adobo
- 2 Lbs Ground pork
- 1 tsp Salt
- 1 tsp Black pepper
- 1 Egg, beaten
- 1 cup Swiss cheese, shredded
- 4 slices Canadian bacon
- As needed Dill pickle slices
- 4 Kaiser Rolls
Cooking Directions
- Combine the orange juice, lime juice, oregano, garlic, cumin, sugar, and canola oil in a small bowl whisking to combine.
- Add the bagged coleslaw mix to a gallon size zip lock bag and add in the mixture. Toss to combine and refrigerate for 1 hour.
- In the bowl of a small food processor add the mayo and chipotles, puree until smooth. Refrigerate until ready to build burgers.
- In a larger mixing gently combine the ground pork, beaten egg, salt, and pepper. Then add a heaping 1/3 cup of pork to a burger stuffer or burger mold. Create a well in the burger, add a 1/4 cup shredded swiss cheese and a slice of canadian bacon. Top with 1/4 cup pork and seal the burger. Repeat the process until you have 4 burgers.
- Heat a grill or saute pan to medium heat and cook burgers until the internal temperature reads 155F.
- To build burger, place the bottom burger buns on a plate, start with chipotle mayo, add a few pickle slices, add your burger, add your slaw and top with the bun top. Enjoy!

Other burgers you may enjoy...